
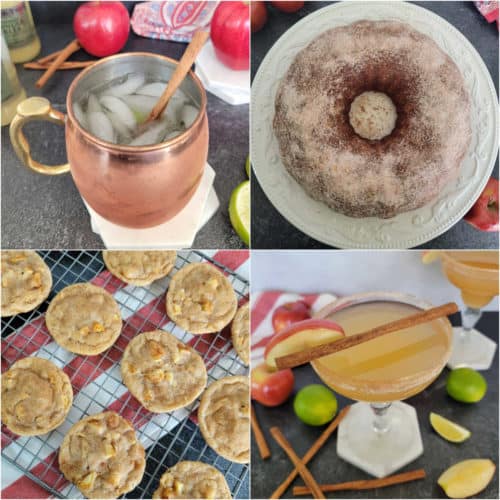
This summer flew by so dang quickly. In honor of back to school, a blogging friend's daughter made these mini apple cookies for me to share with all of you. She owns a bakery and does cookie art and I thought you would love them!
I mean seriously how cute are these mini apple cookies in a mason jar! I LOVE THEM!
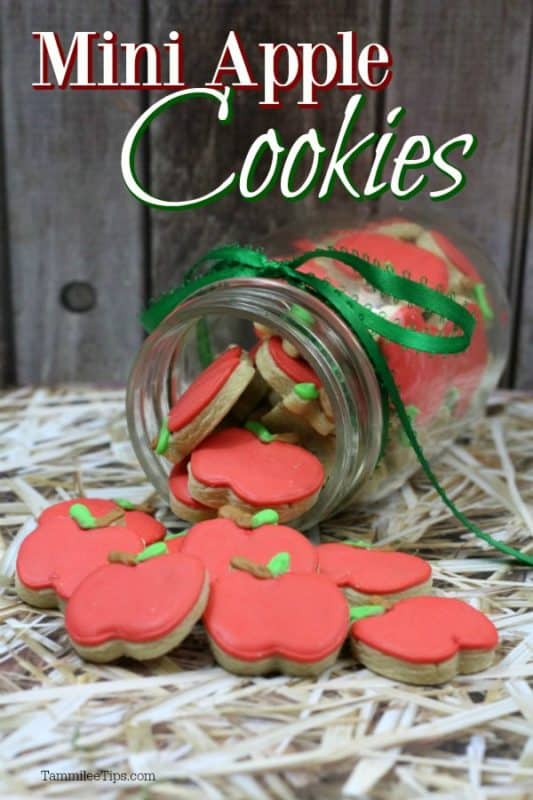
Mini Apple Cookies
I can't believe it is already back to school time. We were at Costco this week and they already have Halloween stuff out. EEK!
Cookies
Cookie Ingredients:
5 C flour
2 teaspoon baking powder
1 teaspoon salt
1 ½ C soft unsalted butter
2 C granulated sugar
4 eggs
Mini Apple cutter
Cookie Directions:
- Cream the soft butter with the sugar until the combination is smooth not grainy to the touch in a mixing bowl.
-Add all 4 eggs at one time...Continue to mix. -Add the vanilla.. Continue mixing.
-Sift the four, baking powder, and salt together.
-Add the dry mixture to the wet mixture.
-Continue mixing to make sure all ingredients are thoroughly blended.
-Make the dough into a ball, wrap it in cling wrap completely covering the entire dough ball.
-Put in the refrigerator for about 6 hours or overnight. Check to see if the dough is firm.
-Preheat oven to 325 degrees.
-Pull the cookie dough out of the refrigerator and sit it out to soften up a bit.
- Put flour out on the wood cutting board, rub flour on the rolling pin, and work some flour into the batter.
-Roll the dough out on the cutting board and using your MINI APPLE cookie cutter begin to make your cookies.
-Line the cookie sheet with parchment paper.
-Using a metal spatula move the cut cookie to the parchment lined cookie sheet.
-Bake at 325 degrees for 8 minutes. Check to see if the cookie are thoroughly baked.
-Take the cookies off of the cookie sheet and put on a wire rack to cool completely. (About 10 minutes).
Royal Icing:
Icing Ingredients:
2 egg whites
1 C powder sugar
½ teaspoon cream of tartar
Red, brown, green gel food coloring
Icing Directions:
-Combine all ingredients in a mixing bowl mixing on medium speed for 4 minutes. (except your food coloring)
-If icing is not stiff enough add ¼ C powder sugar.
- Leave icing in large bowl. Take out 4 bowls, put ¼ C of icing in three bowl and the rest of the icing in the fourth bowl.
-Bowl #1 remains white, bowl #2 , add several drops of brown gel food coloring stirring well until all of the color is blended. Bowl #3, add several drops of green gel food coloring stirring well until all of the color is blended.
-As for the largest amount of icing add several drops of red gel food coloring in the bowl of icing ... stir well to mix the color. (Red is a difficult color to get so you may have to continue to add the food coloring to get the bright deep red color. That is why we use a gel food color as it doesn't water down the icing.)
-Spoon each of the icings into individual frosting bags with a #5 tips.... twist the open end of the bag to push the icing to the tip.
Whole Red Apple:
-First step for each of the completely red apple cookies is to outline it in red except for the stem and leaf.
-Allow the red outline at least 30 seconds to dry before filling the body of the cookie in with the other red icing*. ( After outlining all of the apple cookies you can push the remaining icing into a bowl and add the 1 teaspoon of water and mix well to get the right consistency.) Using a butter knife to spread it from the outlined part inwards to the center.
-Outline the stem with brown icing on all of the same apple cookies, fill them in with the thinner icing.
-Outline the green leaf with the green icing on all of the same apple cookies, fill them in with the thinner icing.
-Set these aside and allow to completely dry about 4 hours.
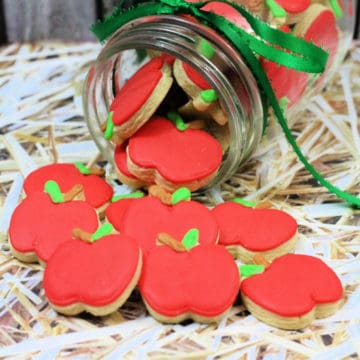
Mason Jar:
-After mini cookies have completely dried place them individually into a mason jar.
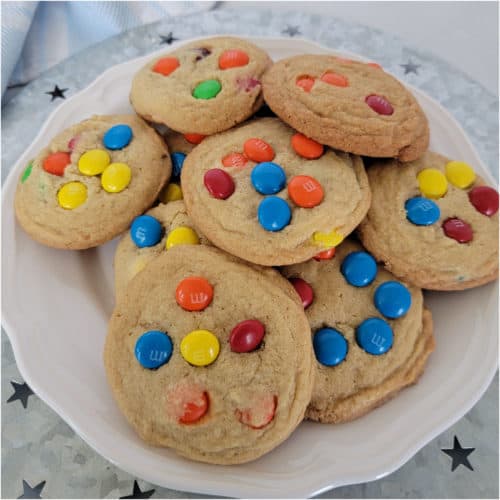
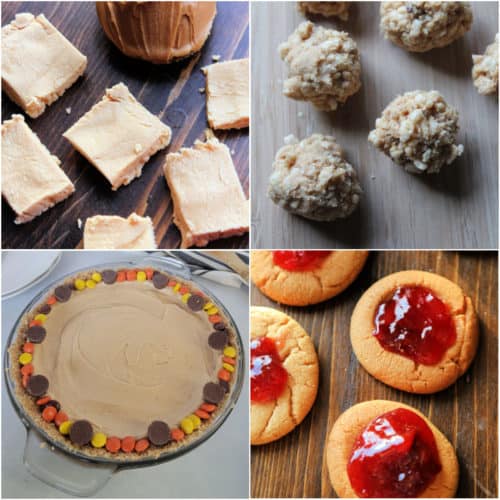
Do you love recipes? Check out our copy cat recipes, dessert recipes, and our Crock Pot Recipes.
Ingredients
Cookie Ingredients:
- 5 C All Purpose Flour
- 2 Teaspoon Baking Powder
- 1 Teaspoon Salt
- 1 ½ C soft unsalted butter
- 2 C White Sugar
- 4 Eggs
Royal Icing:
- Icing Ingredients:
- 2 Egg Whites
- 1 C Confectioners Powdered Sugar
- ½ Teaspoon Cream of Tartar
- Red, brown, green gel food coloring
Instructions
Cookie Directions:
- - Cream the soft butter with the sugar until the combination is smooth not grainy to the touch in a mixing bowl.
- -Add all 4 eggs at one time...Continue to mix. -Add the vanilla.. Continue mixing.
- -Sift the four, baking powder, and salt together.
- -Add the dry mixture to the wet mixture.
- -Continue mixing to make sure all ingredients are thoroughly blended.
- -Make the dough into a ball, wrap it in cling wrap completely covering the entire dough ball.
- -Put in the refrigerator for about 6 hours or overnight. Check to see if the dough is firm.
- -Preheat oven to 325 degrees.
- -Pull the cookie dough out of the refrigerator and sit it out to soften up a bit.
- - Put flour out on the wood cutting board, rub flour on the rolling pin, and work some flour into the batter.
- -Roll the dough out on the cutting board and using your MINI APPLE cookie cutter begin to make your cookies.
- -Line the cookie sheet with parchment paper.
- -Using a metal spatula move the cut cookie to the parchment lined cookie sheet.
- -Bake at 325 degrees for 8 minutes. Check to see if the cookie are thoroughly baked.
- -Take the cookies off of the cookie sheet and put on a wire rack to cool completely. (About 10 minutes).
Icing Directions:
- -Combine all ingredients in a mixing bowl mixing on medium speed for 4 minutes. (except your food coloring)
- -If icing is not stiff enough add ¼ C powder sugar.
- - Leave icing in large bowl. Take out 4 bowls, put ¼ C of icing in three bowl and the rest of the icing in the fourth bowl.
- -Bowl #1 remains white, bowl #2 , add several drops of brown gel food coloring stirring well until all of the color is blended. Bowl #3, add several drops of green gel food coloring stirring well until all of the color is blended.
- -As for the largest amount of icing add several drops of red gel food coloring in the bowl of icing ... stir well to mix the color. (Red is a difficult color to get so you may have to continue to add the food coloring to get the bright deep red color. That is why we use a gel food color as it doesn't water down the icing.)
- -Spoon each of the icings into individual frosting bags with a #5 tips.... twist the open end of the bag to push the icing to the tip.
Whole Red Apple:
- -First step for each of the completely red apple cookies is to outline it in red except for the stem and leaf.
- -Allow the red outline at least 30 seconds to dry before filling the body of the cookie in with the other red icing*. ( After outlining all of the apple cookies you can push the remaining icing into a bowl and add the 1 teaspoon of water and mix well to get the right consistency.) Using a butter knife to spread it from the outlined part inwards to the center.
- -Outline the stem with brown icing on all of the same apple cookies, fill them in with the thinner icing.
- -Outline the green leaf with the green icing on all of the same apple cookies, fill them in with the thinner icing.
- -Set these aside and allow to completely dry about 4 hours.
Kitchen Tools
- Parchment Paper
- Hand Mixer
- Cookie Sheets
Tahani
How many cookies would u say are there that go in the jar?
Crystal
How cute! I'm not quite ready to give up summer, but adorable treats like this make it easier.
Little Miss Kate
Love this recipe - so simple. I just bought some new cookie cutters, I will have to give it a try.
Debi- Lifestyle Blogger
Those are adorable. I could see them great for a back to school present for the teacher
Stephanie
I love mini cookies and those a so adorable!What a great way to start the first week of school!
Danielle K
These are so incredibly cute. I know any teacher would be thrilled to receive these whether on the first day of school or at any time. I'll have to try these 🙂