
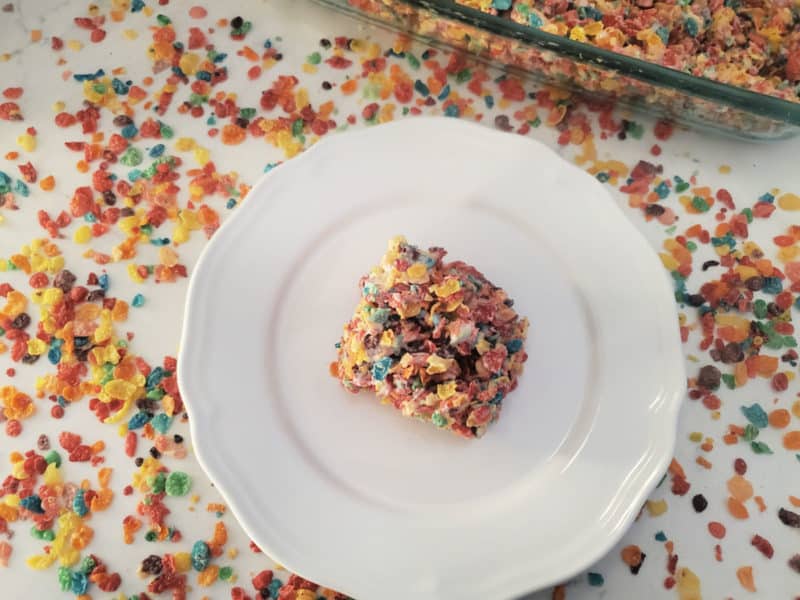
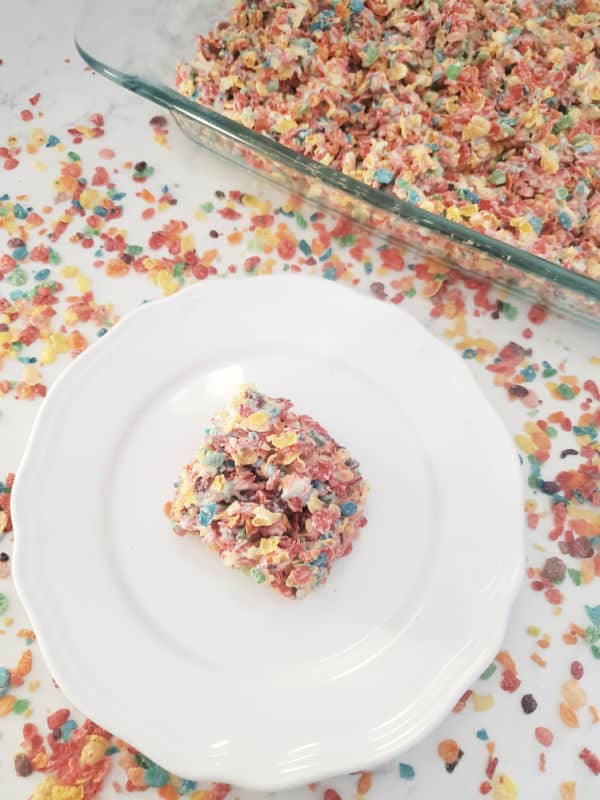
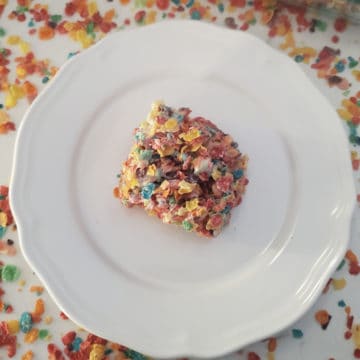
Easy three-ingredient Fruity Pebbles Treats Recipe is a great no-bake dessert. These rainbow cereal marshmallow treats are a fun twist on classic Rice Krispie Treats.
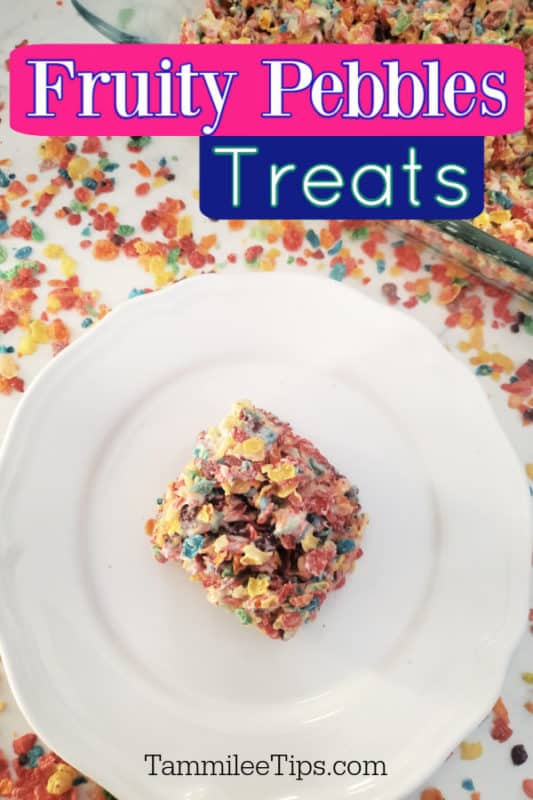
Fruity Pebbles Treats
While making Lucky Charms Treats this past week, I wondered why I hadn't made rainbow cereal treats.
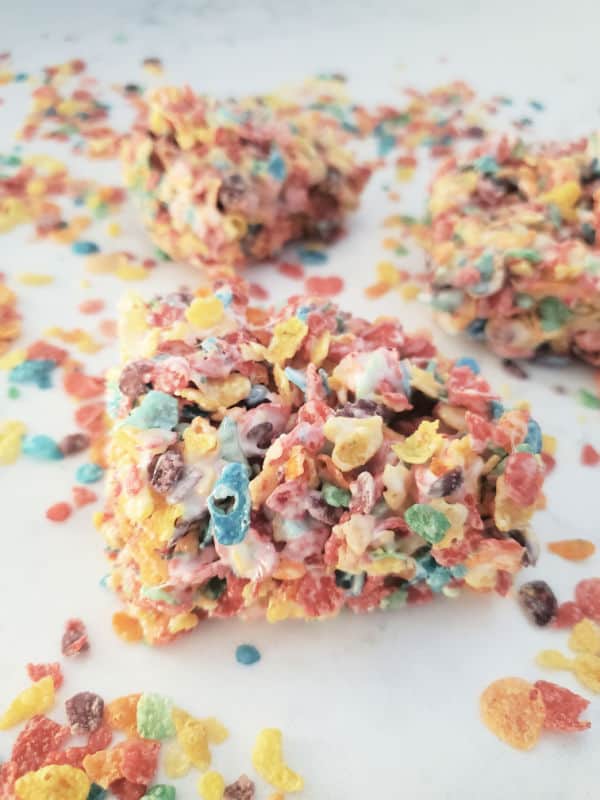
Enter in these Fruity Pebbles Treats! They are such a fun rainbow fruity twist on classic Rice Krispie Cereal Treats.
Plus, with St. Patrick's Day next week and Easter in a few weeks, we all need a bright, cheerful, no-bake dessert that takes minutes to prepare.
How can you go wrong with ooey-gooey marshmallows combined with Fruity Pebbles to make a sweet treat? Yum!!!
These Fruity Pebbles Rice Krispie Treats are so much fun and taste amazing. Adults and kids will love these bright rainbow-colored treats
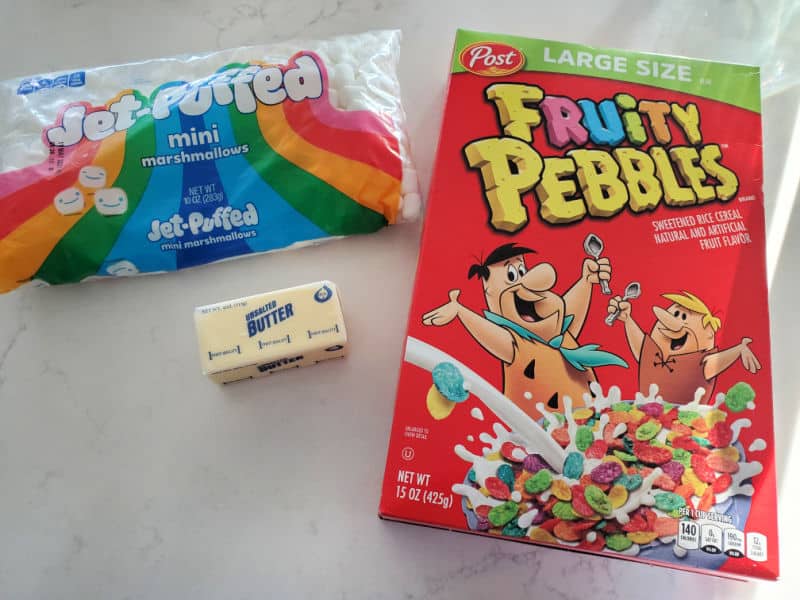
Ingredients
This is a quick overview of the simple ingredients that you'll need to make an epic Fruity Pebbles Rice Crispy Treats! Specific measurements and step by step instructions are included in the printable recipe card at the bottom of the post.
Fruity Pebbles Cereal - You can also make this with cocoa pebbles to make chocolate Krispie treat recipes.
Mini Marshmallows - I prefer to use mini marshmallows but you can use regular size marshmallows if that is all you have. We use Kraft jet-puffed mini marshmallows and find they melt perfectly.
Butter - You can use salted or unsalted butter in this recipe. Using salted butter can enhance the flavor of these no-bake bars.
Equipment Needed
Large Pot/large saucepan - Make sure you use a pot large enough to mix all of the ingredients together.
13 x 9-inch pan - You can also make these in an 8x8 pan if you want thicker larger treats.
Non-stick cooking spray - this will make it easier to remove the marshmallow treats.
Wooden Spoon - We find a wooden spoon works best for stirring the treats. Spatulas will also work if you don't have a wooden spoon handy. Just make sure the spatula has a sturdy handle so it doesn't break when stirring the melted marshmallows for the fruity pebble rice crispy treats.
Parchment Paper - You can line the prepared pan with parchment paper to make it easier to remove these treats.
Microwave Safe Bowl - If you plan to make the Fruity Pebble Treats in the microwave.
How to make Fruity Pebbles Rice Crispy Treats in the Microwave
I've included complete instructions in the printable recipe card at the bottom of the post, but here's a quick version.
- In a large bowl, melt butter for 30 seconds. I suggest putting a silicone cover over the bowl to prevent butter splatters.
- Add marshmallows to the bowl and microwave for 2 to 3 minutes. Watch marshmallows so they don't puff up and fall out of the bowl.
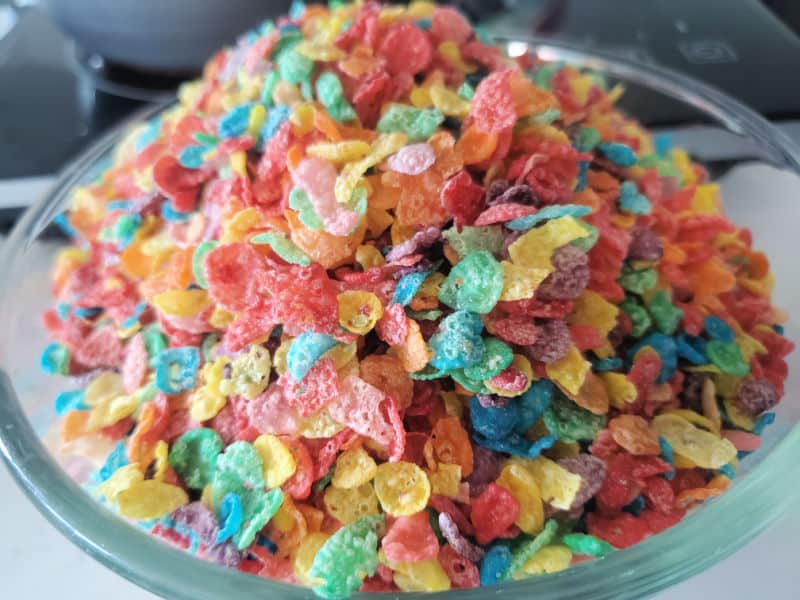
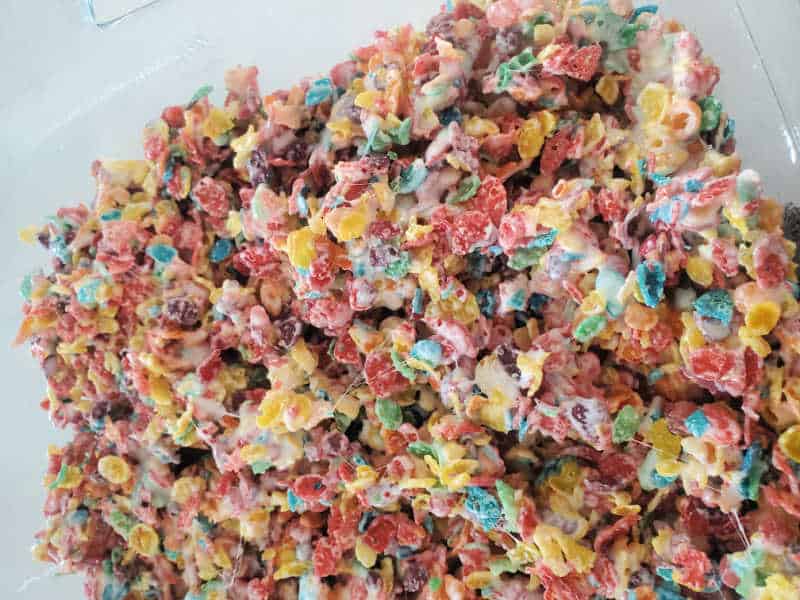
- Stir marshmallows and pour in Fruity Pebbles Cereal. When mixed well together, lightly press into a 9x13 casserole dish.
Preparation and Storage
Make Ahead:
You can easily make these a day or two ahead of time. They will stay fresh for up to 3 days at room temperature when stored in an airtight container.
Storage:
Store at room temperature in an airtight container or a Ziploc bag. You can also store these fruity pebbles treats in the pan; just make sure it is covered so they stay chewy. Wrap individual portions in plastic wrap to prepare them for a lunch box.
Freezing/How to Freeze: We do not suggest freezing these Fruity Pebbles Rice Krispie Treats.
How to Reheat:
If the marshmallow treat has gotten a bit hard, microwave them for 6-8 seconds to heat and soften them.
Recipe Variations
Substitutions:
We use name-brand Fruity Pebbles, but store brands will also work. You can also make this with cocoa pebbles to make Chocolate Krispie treats.
I prefer mini marshmallows, but you can use regular-size marshmallows if that is all you have. We use Kraft jet-puffed mini marshmallows and find they melt perfectly.
You can use salted or unsalted butter in this recipe. Using salted butter can enhance the flavor of these no-bake bars.
To lessen the fruity sweetness you can add in a pinch of kosher salt to the marshmallow mixture.
Vegetarian Option: Use gelatin-free vegetarian marshmallows to make these treats vegetarian.
Vegan Option:
Use plant-based butter and vegan marshmallows to make this recipe vegan. We like Yummallo, Dandies, Trader Joe's, Funky Mello, and Freedom Confectionary.
One thing to note is there is contradicting information on whether Fruity Pebbles are vegan. Make sure to check the box ingredients if this is a dietary concern.
Gluten-Free: Fruity Pebbles are certified gluten-free!
Smaller Serving Size:
For a smaller serving, you can change the recipe card servings below. We suggest making smaller servings in the microwave.
Larger Group/More Servings: You can double this recipe by dividing it across two baking dishes. Just make sure you have a big enough pot to mix everything.
Tips for the Best Fruity Pebbles Rice Krispie Treats
- Add in a bit of vanilla extract for another layer of flavor. Add a pinch of salt if you use unsalted butter to balance the sweetness a bit.
- Make sure to melt the marshmallows low and slow. You can completely melt the marshmallows or leave a few partially melted to get bites of marshmallows in your treats.
- Don't overcook the marshmallows! You want to use low heat so they melt nice and smoothly. If the marshmallow is heated too fast, you may have hard, crunchy treats.
- Non-stick cooking spray works great for pressing the fruity pebbles into the pan. You can spray the waxed paper, a wooden spoon, or your hands and gently press the cereal and marshmallows into the pan.
- You don't want to press the mixture too hard into the baking dish, or it will get hard. Make sure to use a buttered spatula or wooden spoon.
- Make sure not to refrigerate your fruity pebbles rice crispy treats. Putting them in the refrigerator turns them into rocks.
- Fresh cereal works best for this no-bake fruity pebbles crispy treats recipe. If you wouldn't put the stale cereal in a bowl of milk, you don't want to have it in your treats.
What to Serve with Fruity Pebbles Rice Krispie Treats
These colorful, no-bake Fruity Pebbles Treats are a yummy, sweet treat for kids and the young at heart! Here are some pairing suggestions to inspire your menu planning.
Sides: Broccoli Casserole, Apple Stuffing, Funeral Potatoes, BLT Pasta Salad, Southern Fried Cabbage with Bacon, Air Fryer Baked Potato, Jiffy Cornbread with Sour Cream, Sweet Potato Casserole with Candied Yams, Southern Style Green Beans, CrockPot Bourbon Baked Beans
Main Dishes: Cracker Barrel Broccoli Cheddar Chicken, Stovetop Meatloaf, Chicken Casserole with Ritz Crackers, Million Dollar Spaghetti Casserole, CrockPot Macaroni & Cheese with Ham, Chicken Bacon Ranch Casserole, CrockPot Ham & Cheese Grits, Cheesy Gnocchi Casserole
Desserts: Ooey-Gooey Butter Cake, Lemon Bars, Lemon Icebox Pie, Best Rice Krispie Treats, Bisquick Blueberry Cobbler, Pig Pickin' Cake, Bisquick Apple Cobbler, Bisquick Peach Cobbler, Molasses Cookies, Banana Bread, Classic Chocolate Brownies, Texas Sheet Cake Cookies
Drinks: Coke Slushie, Red Robin Freckled Lemonade, CopyCat McDonald's Sweet Tea
When to Serve
- After School Snacks
- St. Patrick's Day
- Family Dinner
- Just Because
- Road Trip Snack
- Sweet Snack
- Birthday Parties
- Potlucks
Great Recipe Collections
Comfort Food Recipes - The best comfort foods for any day you need your favorite meals.
3-Ingredient Recipes - All of the recipes only need 3 ingredients!
Easy Dessert Recipes with 5 Ingredients (Or Less!) - Quick and easy desserts that taste amazing.
Easy Cake Mix Recipes - You will be amazed what you can make with a cake mix. Hint they are not all cakes.
Recipes That Use Sweetened Condensed Milk - How to use the random can of sweetened condensed milk that is in the back of the pantry.
Do you love recipes? Check out our copycat recipes, dessert recipes, and our CrockPot Recipes.
Follow Tammilee Tips on MSN, Facebook, Instagram, and Pinterest for all our recipe posts.
Fruity Pebbles Treats
Ingredients
- 3 Tablespoon Butter
- 10 oz Mini Marshmallows
- 6 cups Fruity Pebbles Cereal
Instructions
- Melt butter in a large pot, once melted add in marshmallows and stir until melted.
- Remove from heat when marshmallows are melted and add in Fruity Pebbles cereal and stir together.
- Lightly press cereal mixture into 9x13 pan. Allow to cool before serving.
Kitchen Tools
- 9X13 Pan
Leave a Reply